Troubleshooting - Installing Muvizu
Once you've carried out the download process, all that's left is to install it onto your computer.
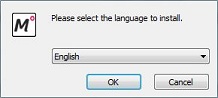
Select Language
Once you're running the .exe, you'll be prompted to select your language. This is nice and simple, fairly self-explanatory.
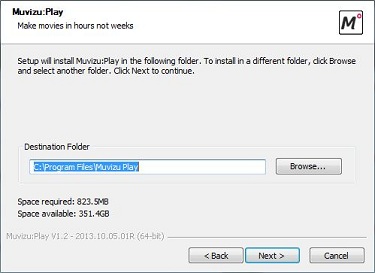
Select File Location
Your computer will default to install program files in your C:\ drive, but you can change them to go wherever you like. It's probably easier to leave them there, though. Don't worry - you won't have to go and find them to run Muvizu later! You'll see later on!
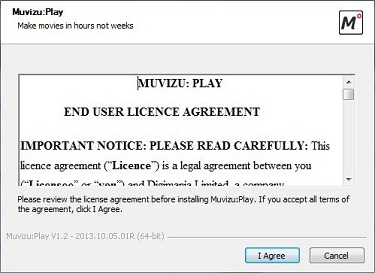
Licence Agreement
The licence agreement is to protect us as well as you. By terms of the licence agreement, you can't remove the watermark from Muvizu without upgrading to Muvizu:Play+ first, and any attempts to do so can result in legal issues. It also means that you can't claim financial rights to your final video if it features the Muvizu logo - however, if you remove it by purchasing a Muvizu:Play+ licence, then you can make money from your videos. If the video does have the watermark, don't worry - you can still upload your videos online, whether it be to our gallery, YouTube, or your own, personal blog!
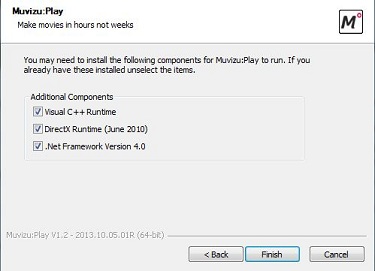
Install Options
During the the install, you'll reach a stage where you're asked whether or not you wish to install the .NET 4.0 Framework, DirectX Runtime and Visual C++ Runtime. These are bits of software which will assist Muvizu to run, so make sure to have them all ticked.
If you need to install these packages separately see the Windows Software section of the Drivers and other system software page
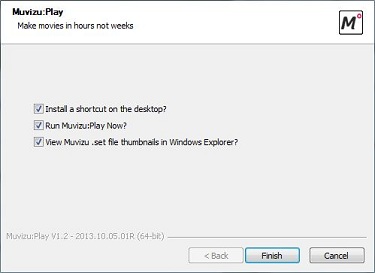
Shortcut Options
If you want a shortcut of Muvizu to be placed in your start menu and on your desktop, just make sure you have them ticked. If you want to run Muvizu as soon as the install is complete (and we suspect you do!) then leave that box ticked, too, then hit "Finish".
You've now successfully installed Muvizu! Have fun animating!