Directing Audio & Dialogue
Muvizu uses some nifty lip syncing to help make characters talk in any language you dare to throw at it. It uses a phoneme system to analyse sounds and interprets them to shape a characters mouth so it matches what the audio puts out.
Let's jump straight in shall we?
Prepare the audio
Now to start off, I will say this; It's best to have all the audio you want to use in the one '.WAV' file before you import it into Muvizu. It really does help. You can import more than one audio file and have characters lip syncing all over the place, but I'm just gonna cover the basics. There is another guide for multi lip sync located on the Wiki here: http://www.muvizu.com/Wiki/wiki/58/getting-multiple-dialogue-tracks-into-muvizu
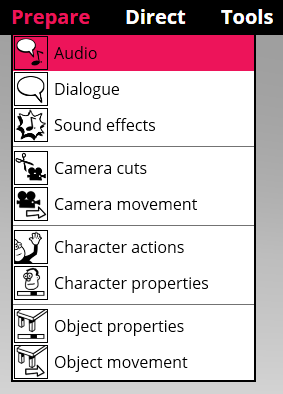
Once you have your set/scene ready and you want to start having your characters hold conversations, go up to the top menu and click 'Prepare'. From this drop down menu, click 'Audio'.
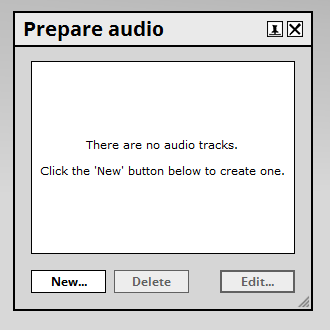
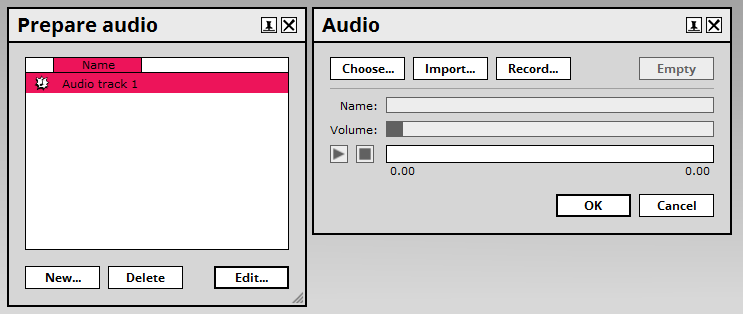
A new window will appear and tell you there are no audio tracks. Go ahead and click the 'New' button and one will be created named 'Audio Track 1'.
Hit the edit button and another new window will come up. This is the audio edit window. If you have a microphone attached to your PC, you can actually record straight into Muvizu! If you already have your audio though, go ahead and click the 'Import' option. Select your .WAV file and you should see some imported sound in pink. You can listen back to it by pressing the little 'Play' button just under the volume slider if you like to make sure it's the correct one you have imported. If you are happy with what you have selected and the volume, just click OK to continue. You can also close the 'Prepare Audio' window also now.
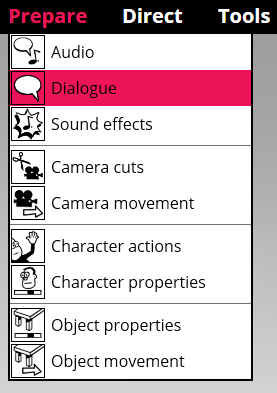
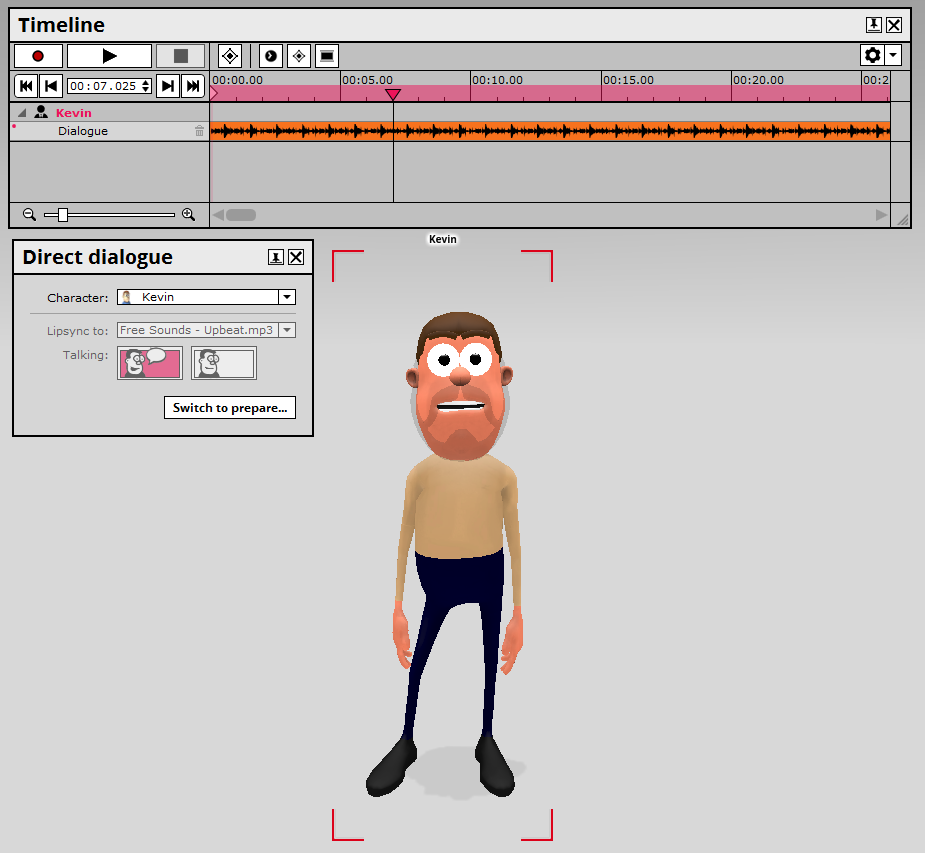
Next up, we want to go back up to the 'Prepare' menu located at the top again, but this time select the option for 'Dialogue'.
A new window will show up and you will see a drop down box for characters, lipsync to, initial talking and a 'Switch to direct' button. Firstly use the drop down box to select the first character that will be talking in your video. Now use the next drop down box to link them with the audio you just imported.

If you want them to remain silent until you tell them to talk, have their initial state set to the graphic with no speech bubble, (the one on the right hand side). Now click the 'Switch to direct' button. The Timeline will appear and once you hit the record button, you can click between the two 'Speech', (Make a character talk), and 'No-Speech', (Make a character be quiet), graphics to make your character talk to your imported audio! If you have more characters you wish to talk at different points during your video, the steps are the same as before, just select the next character and repeat the process. You can mess around and fine-tune dialogue using the dialogue track in the timeline.
Edit timeline
Well done! I'm sure you will be having characters singing in bands and giving lectures in no time!